​iNEST Maker Club at WYWLA
  • Home
  • About
  • Projects
    • Circuitry Projects
    • Fabrics and Fibers
    • Fabrication
    • Programming and Robotics
  • Field Trips
  • Club Blog

Fabrication Projects

Picture
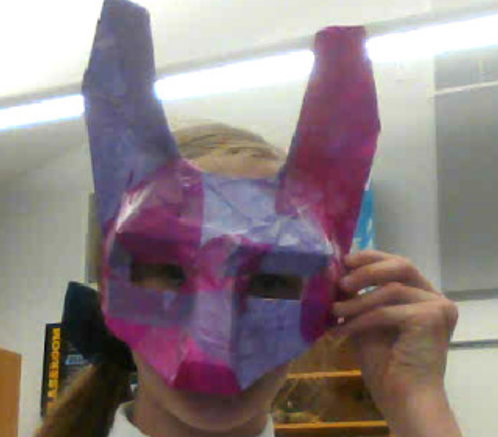
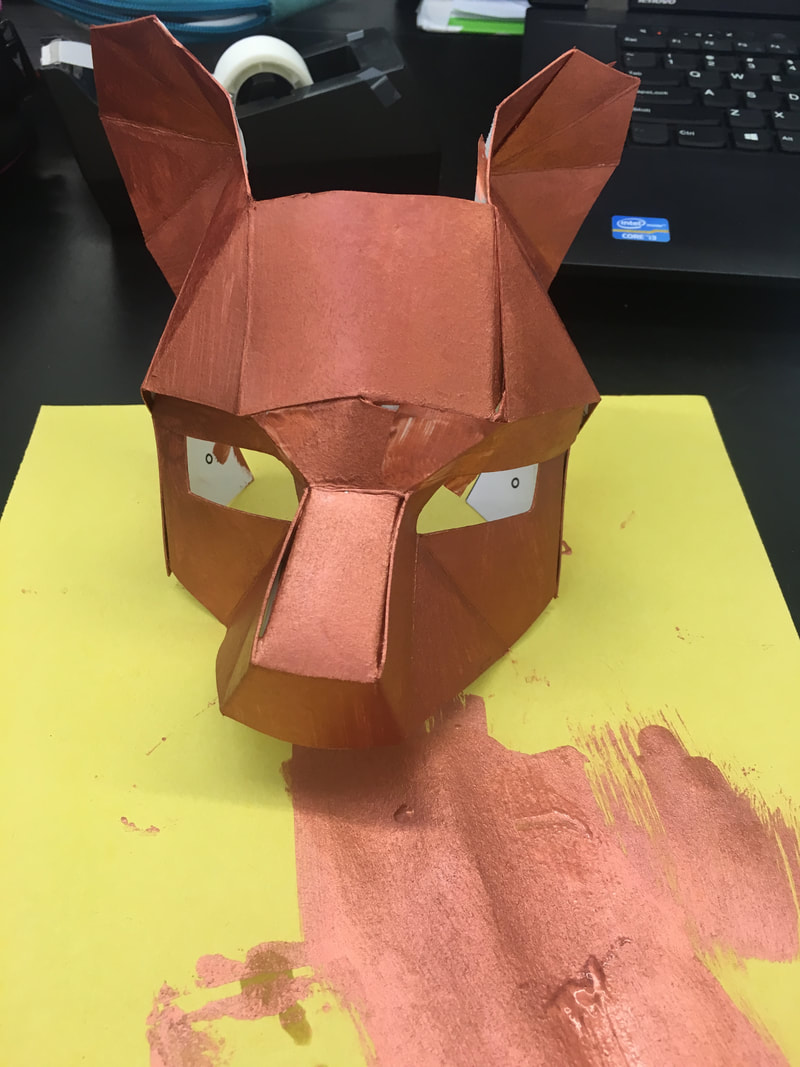
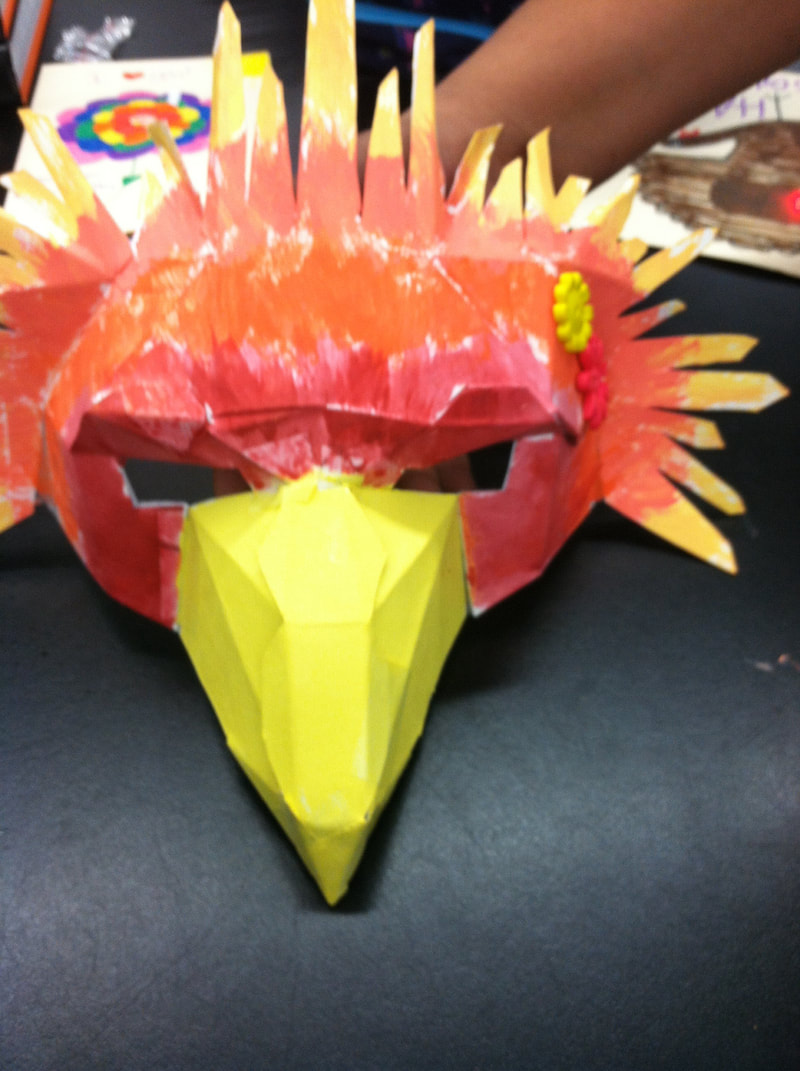
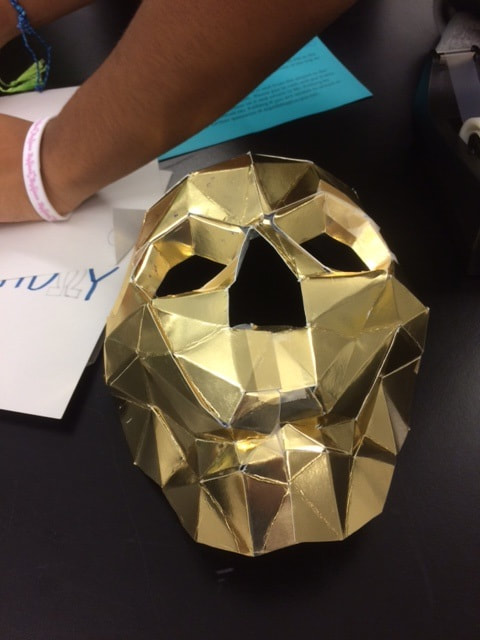
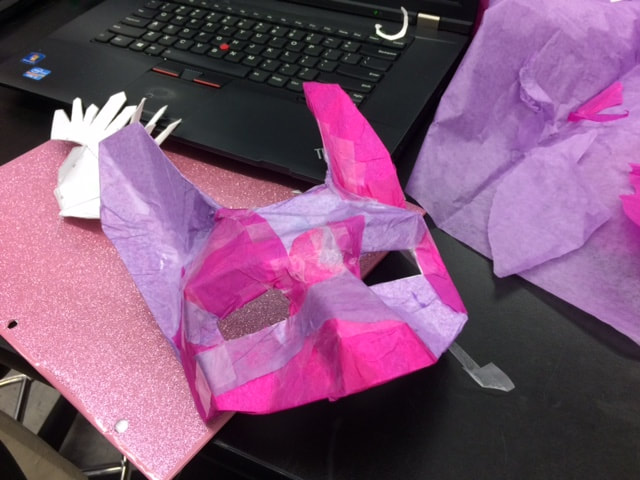
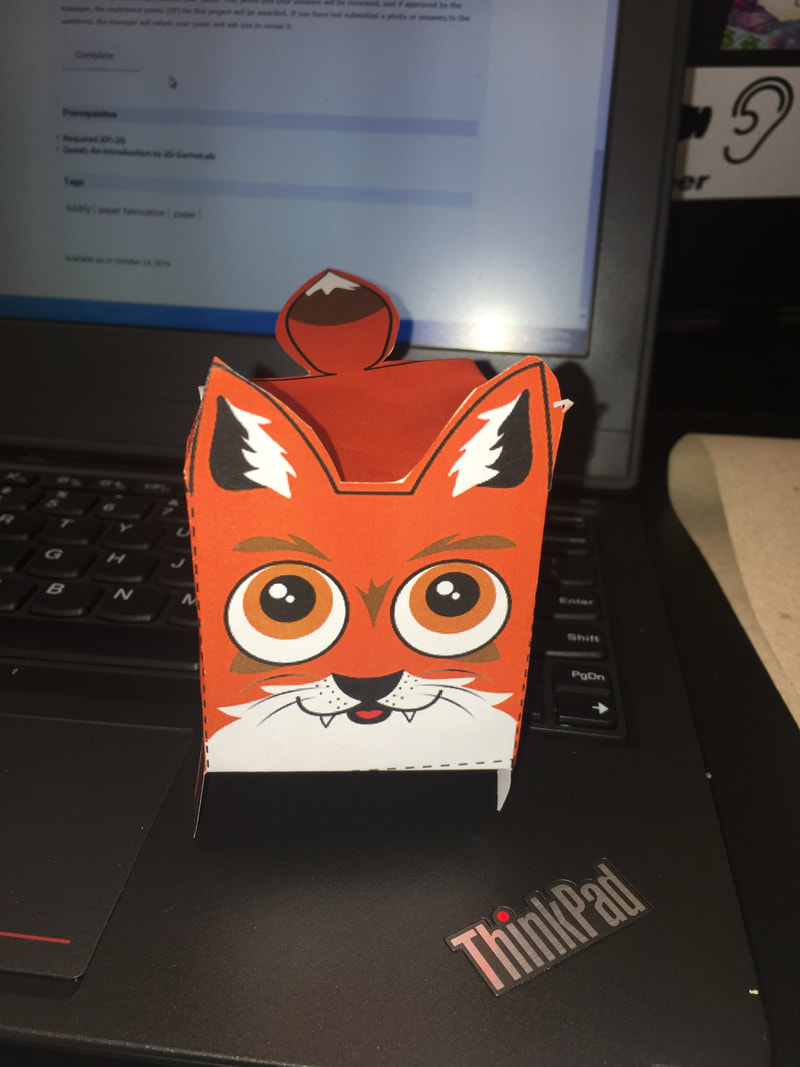
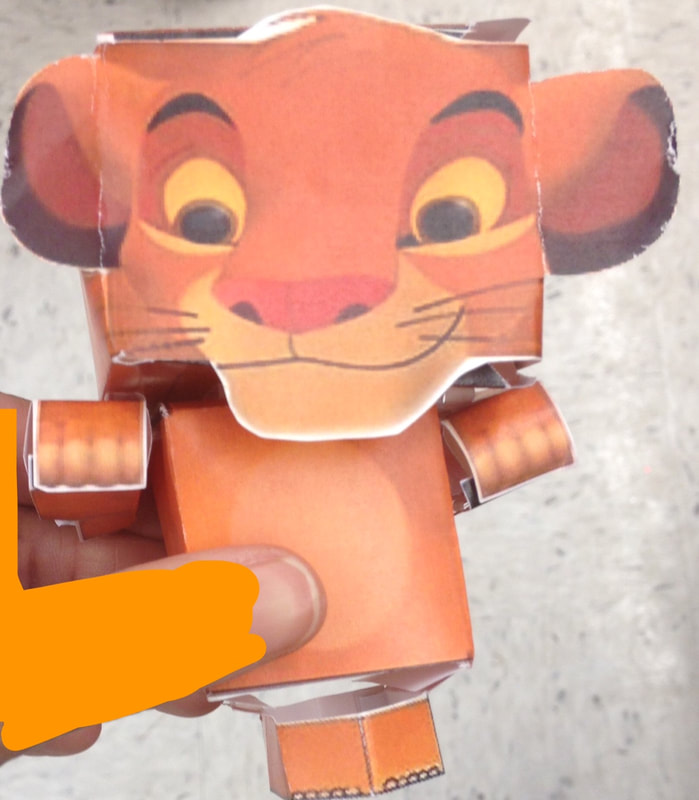
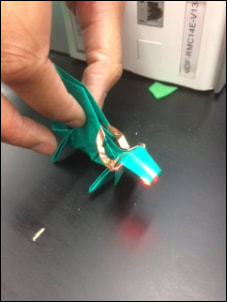
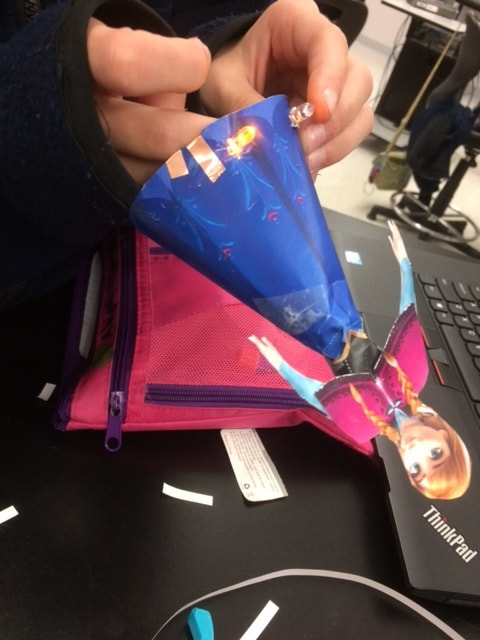
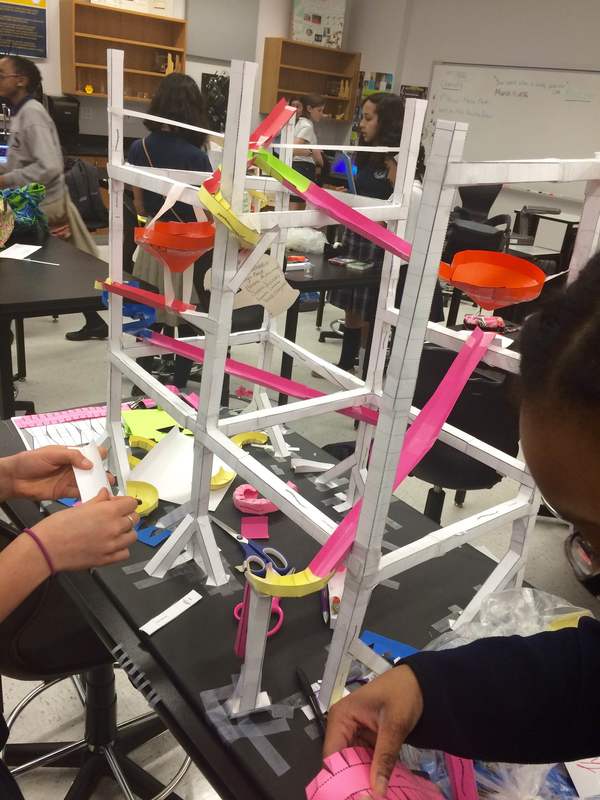
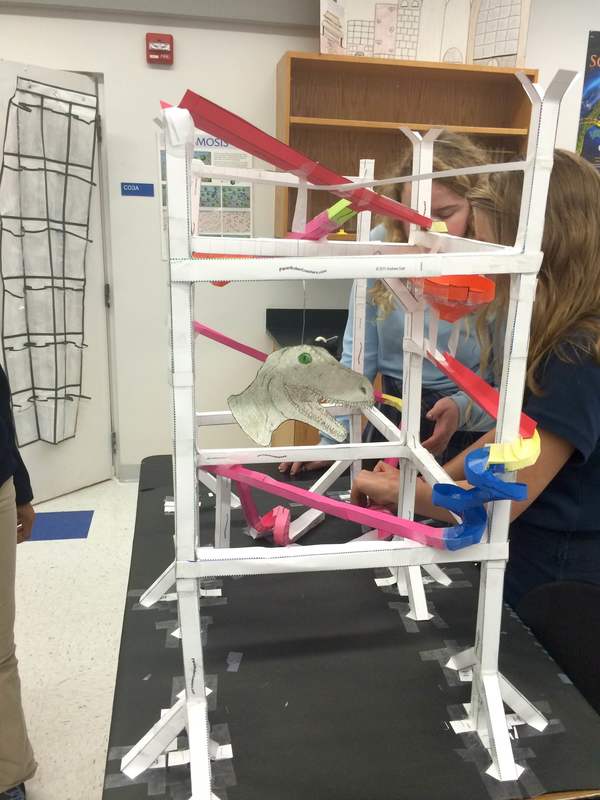
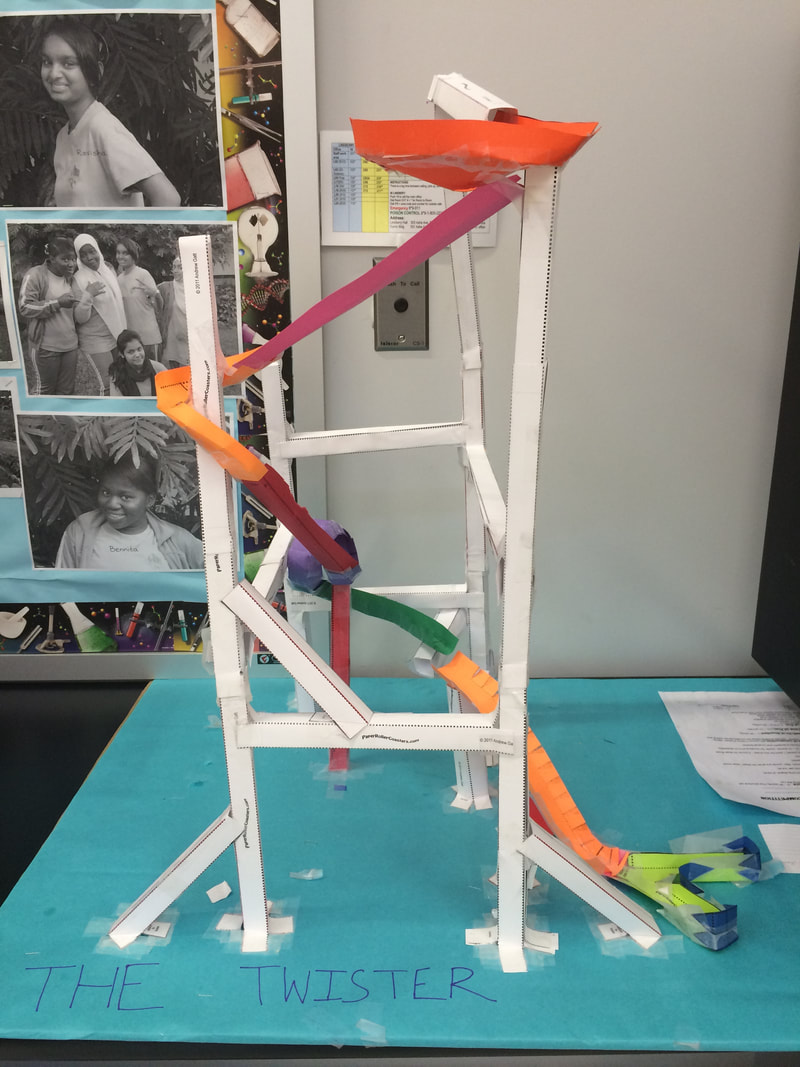
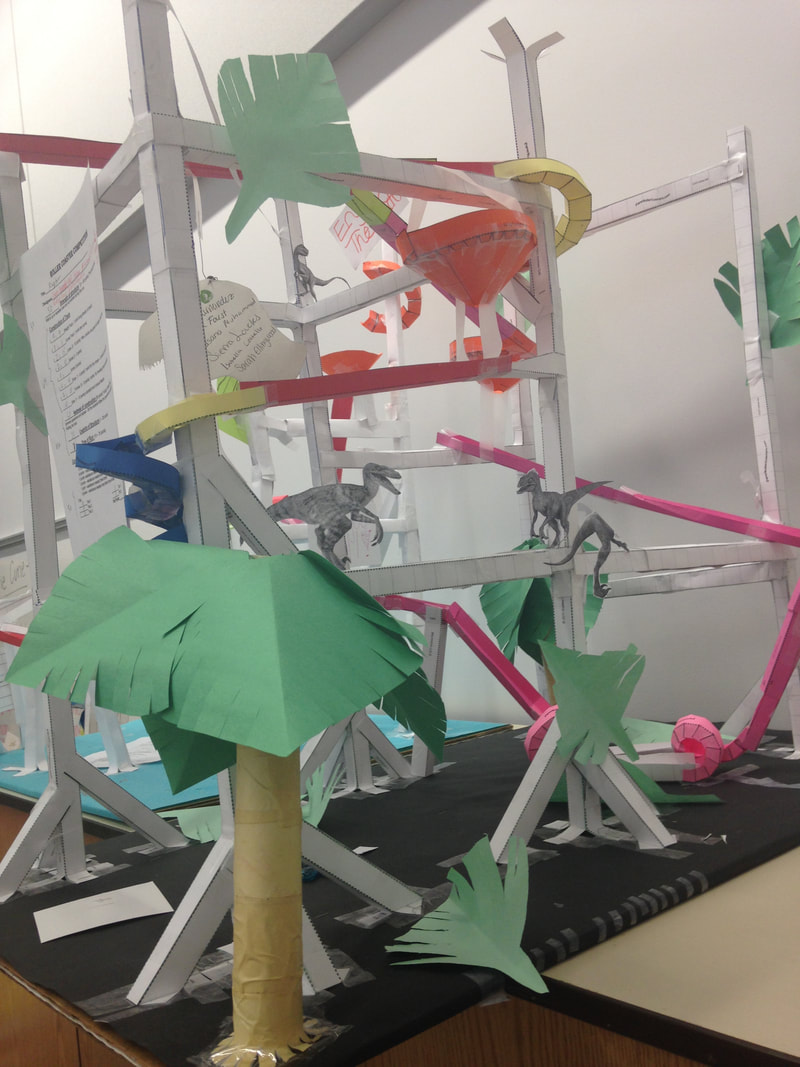
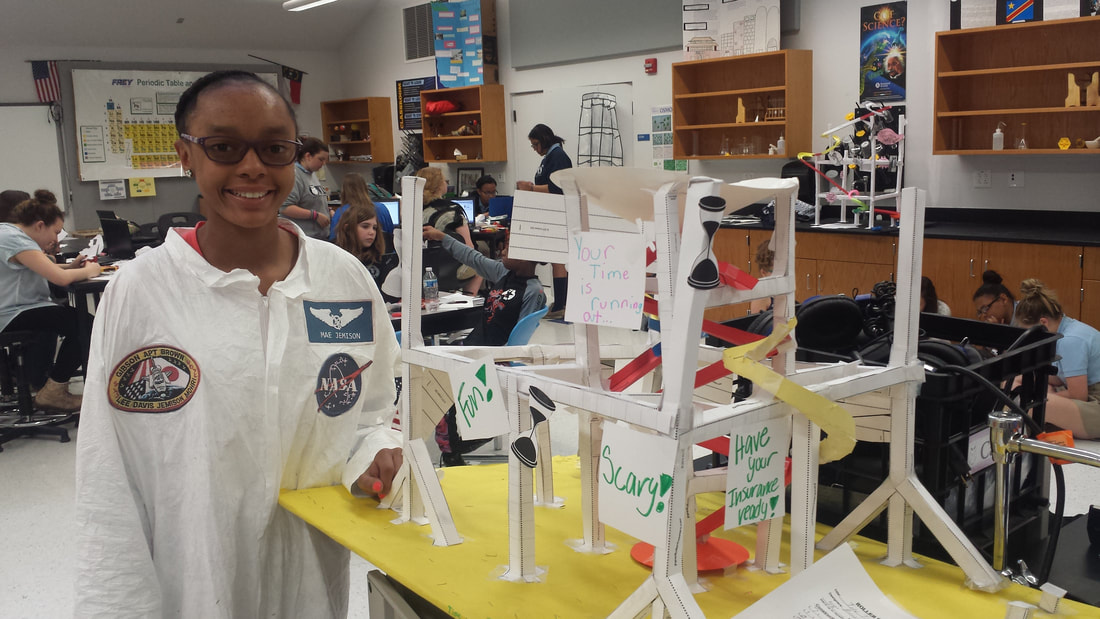
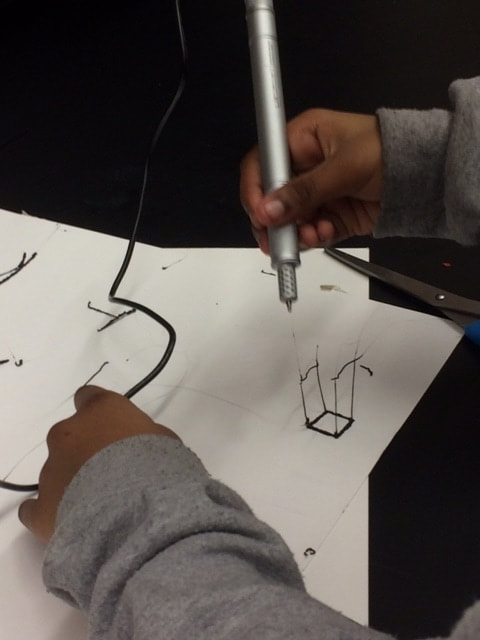
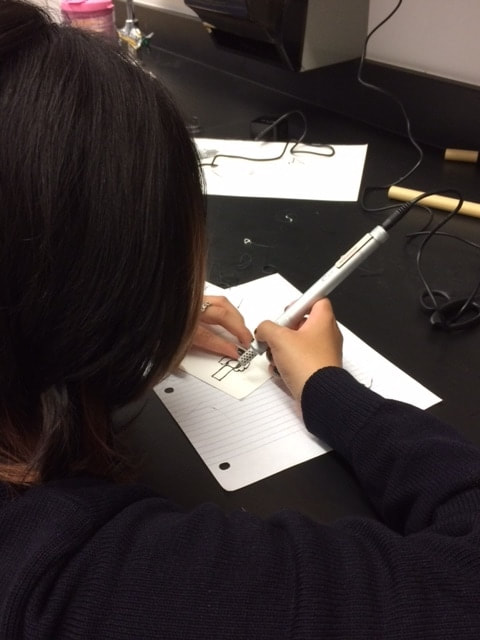
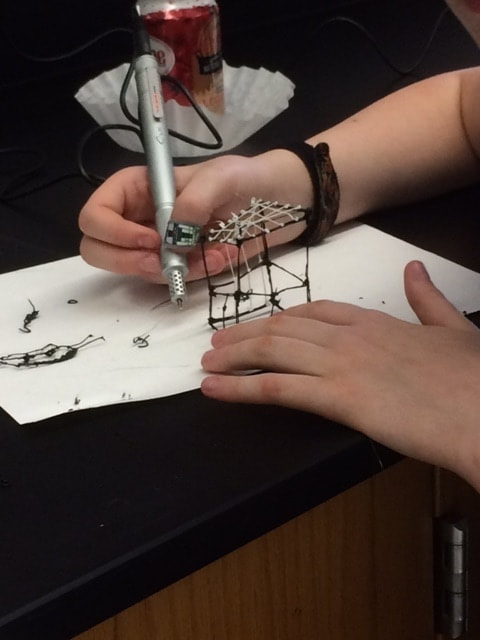
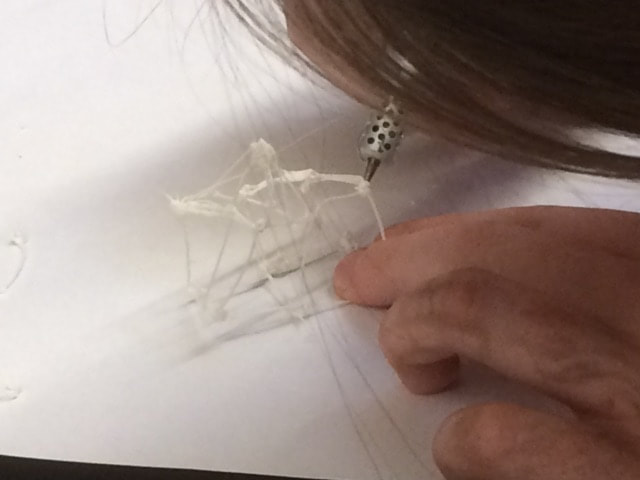
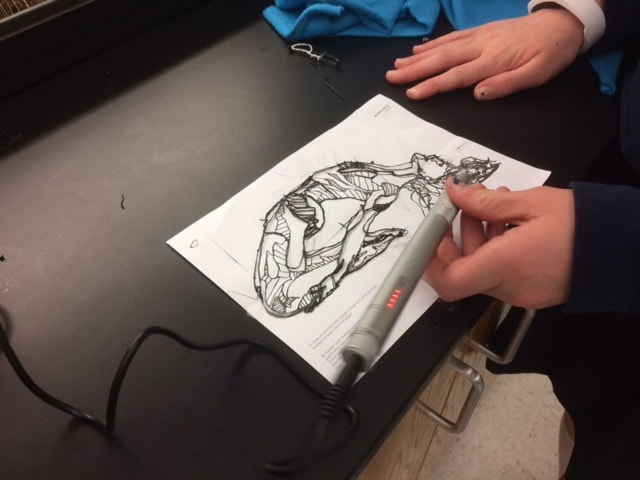
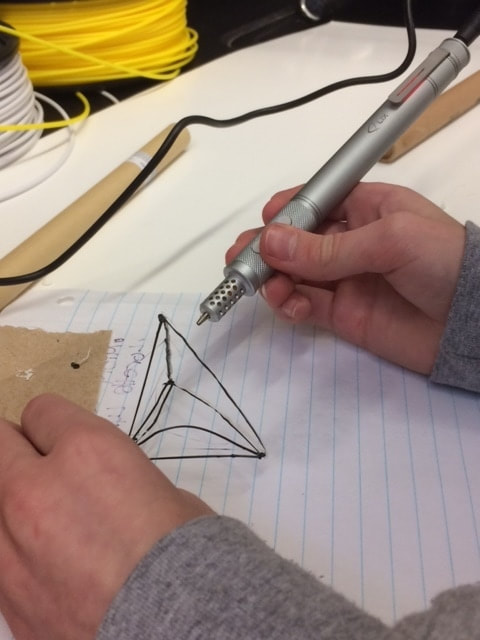
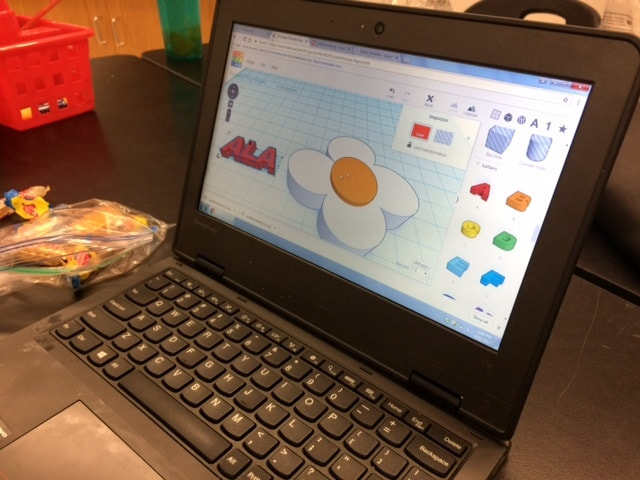
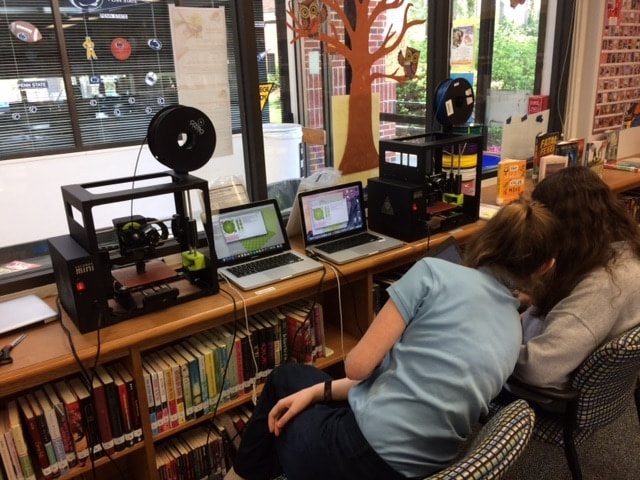
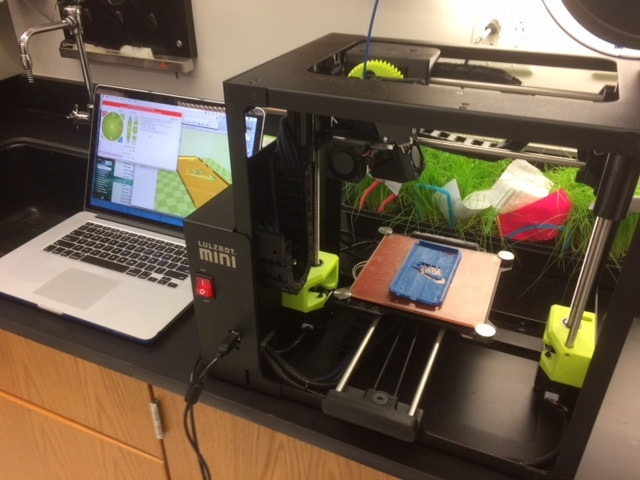
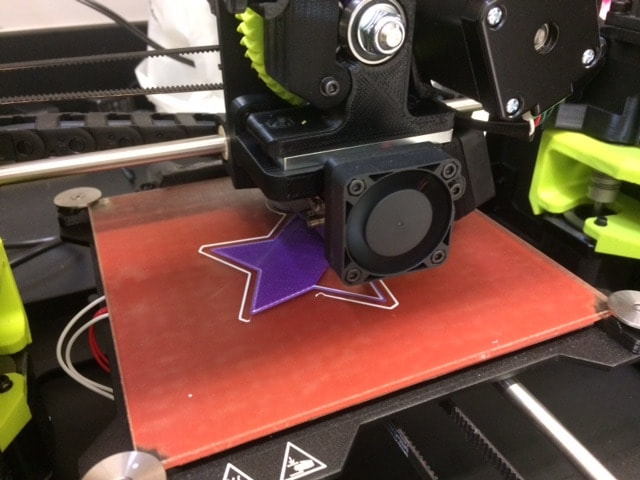
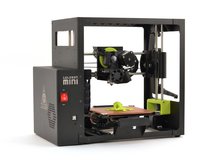
Students may choose to work on any of the fabrication projects listed below, including paper masks, origami and foldify, paper coasters, 3d pen, and 3d printer. Materials you need should be in the club cabinets. Ask a club leader if you need help locating supplies or equipment.

​To get credit for finishing a fabrication project, add a short video to the club's FlipGrid board for fabrication projects to share your work. You can access this FlipGrid from the FlipGrid app on a cell phone by typing in the board code: e61591. If you need help capturing or sharing your video, ask one of the club leaders to assist you.

Paper Masks

Did you know there are companies that specialize in mass fabrication of products such as masks? Often these companies have specialized robots that perform some of the same functions you will be working on in this project--cutting, folding, or welding parts together. As you work on this project, think about the robotics that would be required to automate these processes. We have purchased access to several paper mask templates from Wintercroft, giving you an opportunity to practice construction skills with a better understanding of geometry that will help you when you start working with the other 3d design and 3d printing projects on this page. Masks are printed on card stock, then cut and reconstructed. Many students have also worked with paints and appliques to adorn their masks. Available masks include: hare, doberman, duck, lion, woodland creatures, dragon, badget, bison, panda, t-rex, and gorilla. For credit, remember to share your completed masks on the club's FlipGrid board for fabrication projects.
Sample mask projects created by students in iNEST (click to open images):
Guides/Instructions:
paper_mask_steps.docx
File Size: 1108 kb
File Type: docx
Download File

Materials Needed:
  • a mask template printed on heavy cardstock paper (if your template has been printed on regular paper, you will need to affix the cut pieces to heavier cardstock paper with a glue stick)
  • scissors to cut out pieces, and tape to put them together
  • markers, paint, or other embellishment (tissue paper, foil) for finishing your mask
  • ​a piece of string or rubber band to hold mask on head

Origami and Foldify

Also providing students with a chance to practice construction skills and a better understanding of geometric shapes are various origami and foldify projects available from the supply cabinets in the club room. Students can also check out a school-owned iPad with the Foldify app to create their own original designs, or load the app on their own iPhone. For credit, remember to share your completed origami/foldify on the club's FlipGrid board for fabrication projects.
Sample projects created by students in iNEST (click to open images):
Guides/Instructions:
  • Origami Guide​​
Materials Needed:
  • iPad and Foldify app (if you want to design/print your own custom Foldify designs)
  • origami paper, or pre-printed foldify design (available in cabinets)
  • scissors and tape/glue stick
  • if you wish to light-up your design, you will need a LED, coin cell battery pack, coin cell battery, binder clip, and copper foil tape (see related circuitry project--copper foil circuit) 

Paper Roller Coasters

Roller coasters are one example of an object that gets fabricated. Older coasters were primarily fabricated out of wood, while newer coasters are often made of stronger steel. Did you know some structural engineers have jobs designing roller coasters? They use software programs to design roller coasters before they are built and to test the physical forces that different curves will place on the coaster cars and passengers. They might even use 3D printers to print coaster track and parts and build prototypes or models for demonstration before the actual coaster is built. The club has purchased access to paper roller coaster templates that allow students to practice their design and construction skills as they design and build out a physical coaster, and come to a better understanding of physics at play as they observe and modify their coaster during tests with marbles. For credit, remember to share your completed coasters on the club's FlipGrid board for fabrication projects.
Materials Needed:
  • printed paper roller coaster templates (heavier cardstock paper)
  • a strong cardboard or poster board base to build up from
  • scissors and scotch tape
Sample projects created by students in iNEST (click to open images):

3D Pen

Many new STEM careers are opening up in the world of 3D printing from the printing of artificial limbs to real skin for burn patients. Club members can use four heated Lix 3d pens to practice their construction skills with simple objects. Learn how to layer/build physical objects from the ground up, as a precursor to working with the club's 3d printers that also build filament-based models layer by layer from the ground up. Can you think of a problem to solve with the 3d pen (e.g., designing a clip for the back of a picture frame)? For credit, remember to share your completed 3d pen projects on the club's FlipGrid board for fabrication projects.
Guides/Instructions:
  • Watch this tutorial on setting points and building up shapes
  • Instructables 3d pen tutorial
Materials Needed:
  • Lix Pen and power cord
  • Lix filament sticks (different colors available)
  • A piece of heavy/card stock paper to draw on
Sample projects created by students in iNEST (click to open images):

3D Printing

Students in the iNEST club can make use of two LulzBot 3D printers to fabricate personalized items like key chains and cell phone covers to original designs that supplement a robotics project (e.g., wheels, pulleys). What will you design and create? Be sure to share a video of your digital 3d-printed project on the club's FlipGrid board for fabrication. For credit, remember to share your completed 3d printed projects on the club's FlipGrid board for fabrication projects.
Sample projects created by students in iNEST (click to open images):
Guides/Instructions:​​​
getstarted_tinkercad.docx
File Size: 1670 kb
File Type: docx
Download File

modify_model.docx
File Size: 776 kb
File Type: docx
Download File

design_original_model.docx
File Size: 1139 kb
File Type: docx
Download File

  • How to trace an image in Google Draw, export it as a SVG file, and bring it back into TinkerCad to make a 3D object for printing​
    
Materials Needed:
  • 3-button, scroll-wheel mouse for working with design software like TinkerCad
  • LulzBot 3d printer and filament reel
Supporting Sites:
  • ​​Shared folder to save your 3d .STL files for printing
Proudly powered by Weebly
  • Home
  • About
  • Projects
    • Circuitry Projects
    • Fabrics and Fibers
    • Fabrication
    • Programming and Robotics
  • Field Trips
  • Club Blog